A lot of websites are offering “Free AI Animations”, but once you sign up on their website you will realize that the “Free” part is very limited. If you own a computer that is able to run SDXL without issues, you can most likely create animations that are just as good as you can on websites with paid subscriptions.
I’ve written about my Poor Man’s Animation before, and now I have worked some more on the technique. This will not be a very lengthy guide, since a lot I bring up here I’ve already written about before. In those cases I will make a reference to my earlier texts.
Free AI Animations: Step 1
Create the a base image, the image you want to animate. It doesn’t really matter if you create it with SD 1.5, SDXL or any other generative AI (CivitAI and Leonardo.ai are great places to create free AI images). You should try to make the initial image suitable in size though, and make it focus on a single object. At this point it would be really hard to create animations with lots of different moving objects, and still maintain control.
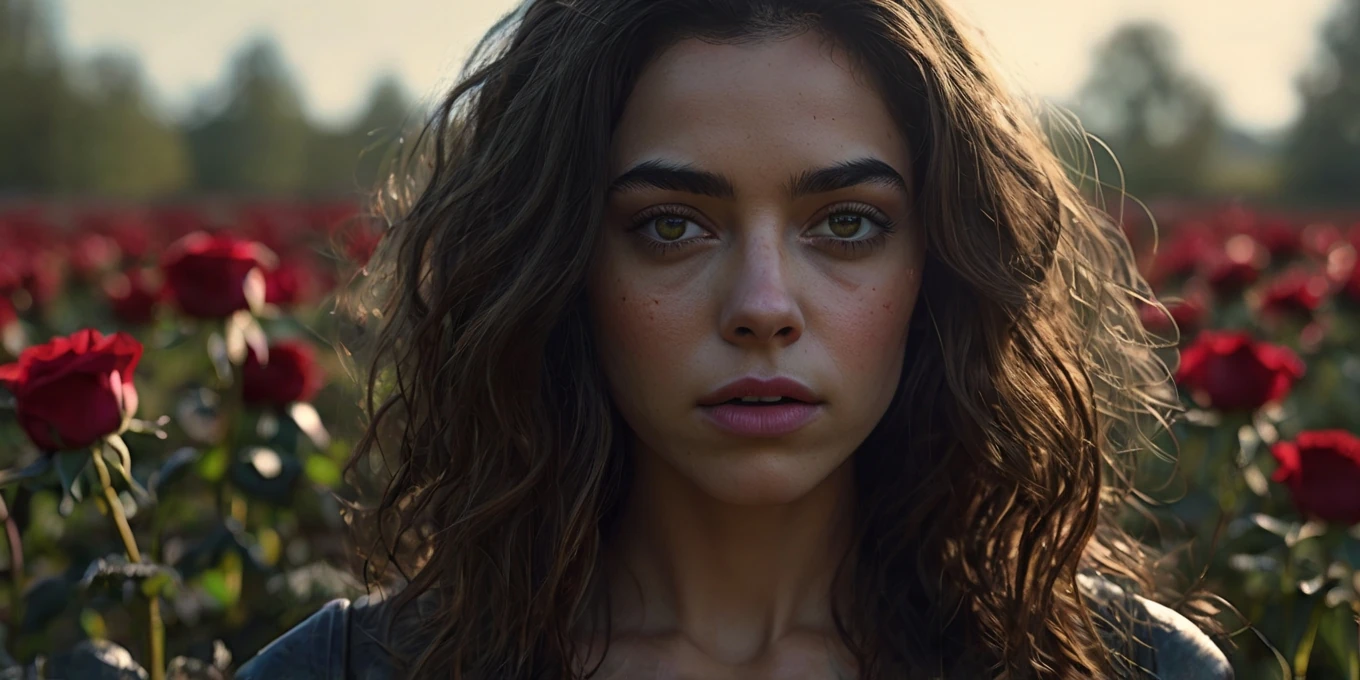
This is my base image and I created my image at CivitAI, where the generation metadata also is available: My base image

Step 2
The workflow I use for the actual animation looks like this.
You can download the workflow here: IMG2VID workflow

Since the workflow is made for SD 1.5 and my base image is a bit too large to work well with SD 1.5, I’ll have to resize it. I find it easiest to resize in GIMP, at least when I don’t have to think about details and such. My base image is 896 x 1152 px which is SDXL size (this is easy to check by simply adding the pixels together: 896 + 1152 = 2048. It’s the same as if you use the base size for SDXL: 1024 + 1024 = 2048).
In GIMP I will resize my image to 50% (448 x 576 px) and save it to my computer. Now my base image is the right size for the workflow. Once the image has correct size, just animate it with the workflow.
Here are some settings I’ve changed from the default settings.

Step 3
Once you’ve ran your image through the workflow you will have a video clip at around 3-4 seconds, and the quality might not be all the you want.
Simply extract the frames from the video using VLC (or any other software that can extract the framed without too much loss in quality). You should end up with around 80-100 frames in the folder you’ve specified in VLC settings.
The next part I’m doing in Forge, because in my opinion it’s both easier and smoother.

Upscale all your frames in Forge using your favourite upscaler, and if needed fix the faces with ReActor.
Once this is done you will have a folder with images at the approximate size of 816 x 1208 px (from now on the aspect ratio is not that important), and a detailed face.
Step 4
Download Flowframes (if you don’t have it already).
Open Flowframes and pick the directory where your upscaled and enhanced images are located, as well as a directory for saving the output. Click “Interpolate”.

In 30-90 seconds you will have a video clip in your “out directory”, and the clip will be anything between 3-9 seconds, depending on how many frames you had to start with and which settings you are using. Feel free to try different settings in Flowframe to get longer (but slower) video or shorter (and faster) video.
