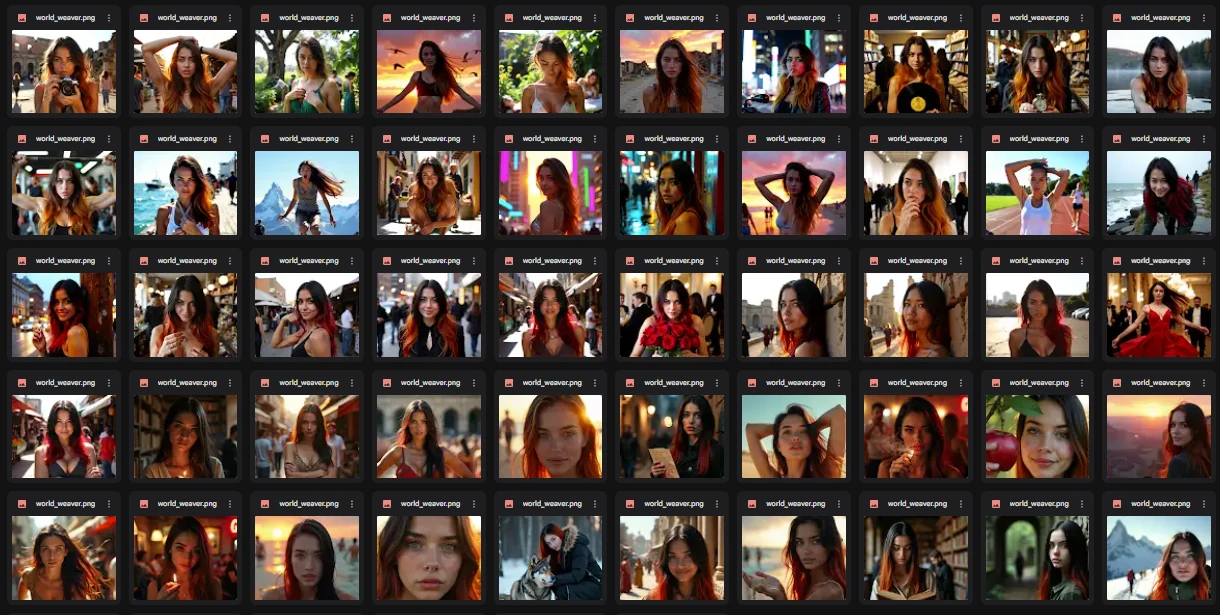
Unless you are creating a character Lora based of an existing person, which can be (unless that person is you) at least morally questionable if not legally, the most time consuming part is to build a dataset. You will need a set of images that depicts the same person in different settings and with diffrerent lightning and expressions.
Let’s be honest. We’ve all been there. You have a perfect character in your head, but trying to pull them out of the latent space feels like trying to catch a specific fish in the ocean with your bare hands. How do you create a consistent identity?
After going down a deep, dark rabbit hole, I’ve developed a two-phase system that separates creative discovery from controlled production. It’s the most reliable method I’ve found for forging a character you can bring back again and again.
Phase 1: The Hunt for Patient Zero (The “Genesis” Workflow)
Before you can create a dataset, you need a perfect source. You need one single image that is the character. This is our “Patient Zero.” But how do you create it from scratch?
This is where the first workflow, the Genesis Engine, comes in. Its sole purpose is to run a creative lottery until we hit the jackpot.
Here’s the philosophy:
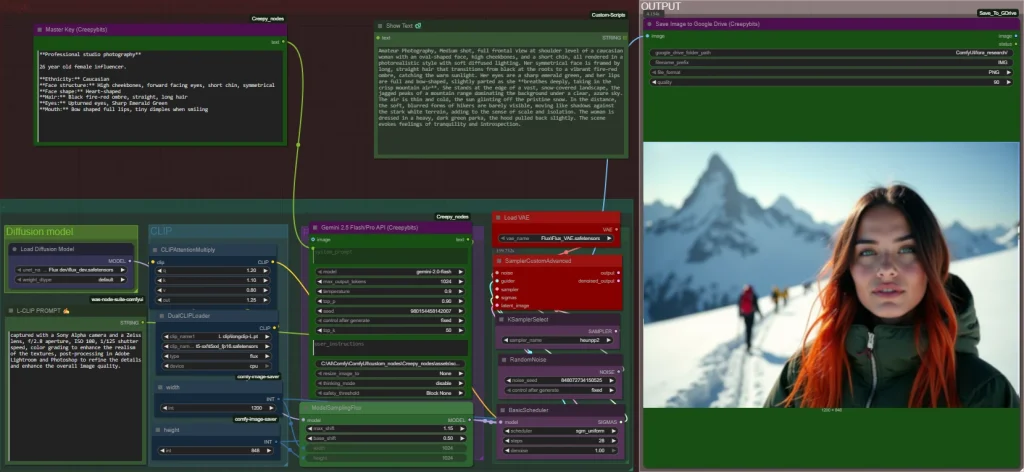
- The “Art Director” (MasterKey Node): I start with a high-level concept. Not a laundry list of anatomical features, but a structured “character sheet” that defines the core essence: ethnicity, hair, face shape, etc.
- The “Ghostwriter” (Gemini API Node): Gemini’s job is to take that character sheet and be a creative storyteller. It writes a rich, descriptive prompt, placing the character into a scene.
- The “Photographer” (Flux Model): The diffusion model takes this rich prompt and generates an image.
I run this workflow—with its inherent randomness—over and over. I am not saving every image. I am hunting. I am waiting for that one single, perfect image where the lighting, expression, and features align perfectly with my vision. It might take five tries, it might take twenty. But eventually, you get this:

This is Patient Zero. This is our golden ticket. We now have the character’s visual DNA locked in. Now, and only now, can we move to phase two.
Phase 2: The Cloning Facility (The “Dataset” Workflow)
Trying to use the complex, unpredictable Genesis workflow to create a whole dataset would be inefficient and chaotic. Now that we have our perfect base image, we switch to a second, more stable and specialized workflow.
This workflow is different. It’s built for production, not discovery.
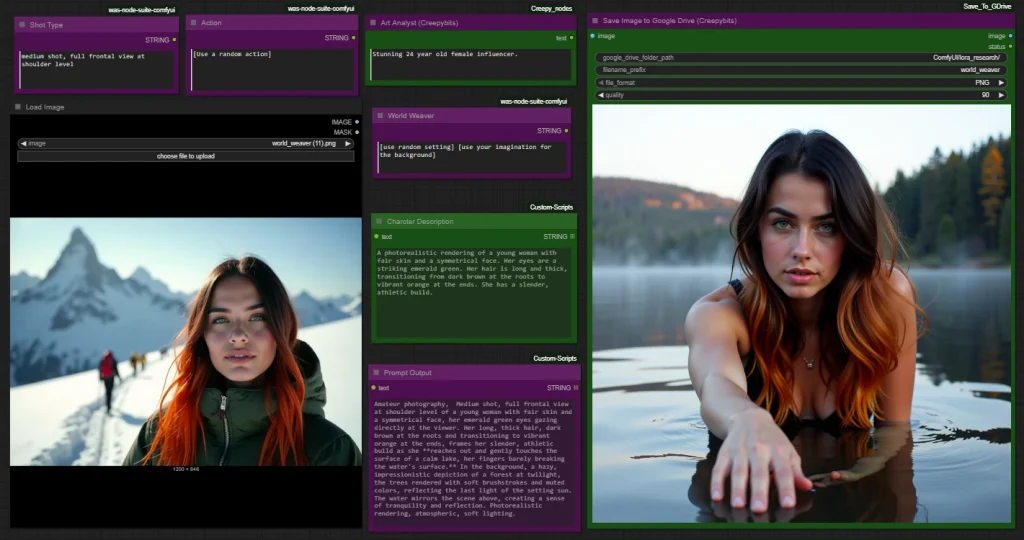
- The Visual Anchor (Load Image Node): We load our “Patient Zero” image. This is now the most powerful signal in the entire workflow. It provides a rock-solid visual reference that anchors the AI.
- The “World Weaver” & “Action” Nodes: Now we use simple text prompts to create variety. We tell the system to place our character in a new setting ([use your imagination for the background]) or performing a new action ([Use a random action]).
- The Generation: Because the AI is starting from a strong visual reference, the outputs are incredibly consistent. The “ethnic drift” and other inconsistencies we fought with before are almost completely eliminated. The visual data from the loaded image keeps the generation grounded.
- Fixed Seed: Even now, you might get unwated results, I know I did. To combat this I generate one image at the time and let the seed increment with each new generation. Once I get an image I’m really happy with, I lock the seed.
Important: Only lock the seed in the Gemini API node that is responsible for the character prompt, you will want the other Gemini API node to still randomize prompts to get a variety of backgrounds and scenery.
Explaining The Workflows
I’m not going to go in to details in what happening backend, but I will give a rough explanation of the nodes used in both workflows.
Deconstructing Genesis Workflow:
The Master Key
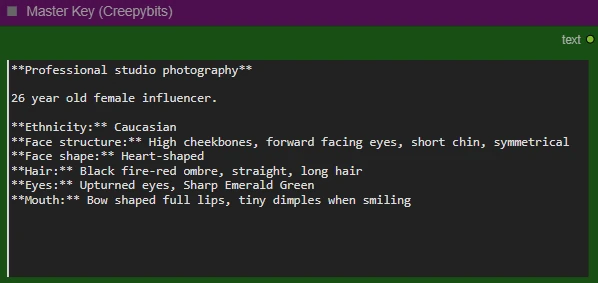
Insert the ethnicity, face structur, face shape, hair color and length, eye shapes and color as well as a description of the mouth.
You can Google the various features for help.
Gemini 2.5 FLASH/PRO API

This is the Gemini API node.
The Master Key Node includes a set of instructions for the Gemini API node, telling it how to interpret the input from the Master Key.
These two nodes are dependant of each other, and one without the other can only be used in a very limited way. The Gemini API without the instructions from the Master Key can create general prompts, but not specialized as the ones required for what we do in this post.
Deconstructing The Dataset Workflow
The Shot Type
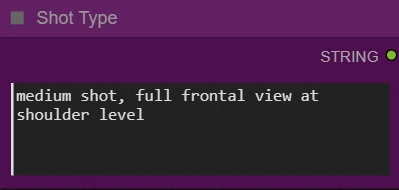
Decide the camera angle and type of shot and write here. I personally think this works well for the purpose.
You can find exhaustive lists by googling ‘types of camera shots’, but I find a good starting point is Control The Perspective
The Action Type
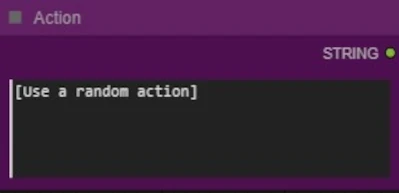
You can specify an action of various actions you want the character to be doing in the output image. If you use several actions write them like this:
Randomly pick one of the following actions: “action 1”, “action 2” or “action 3”.
Character Description
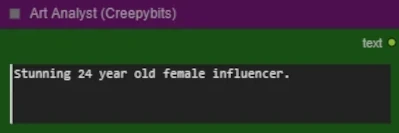
Here you will only give a general description of the character you want to create. Don’t put details here.
Scene And Background
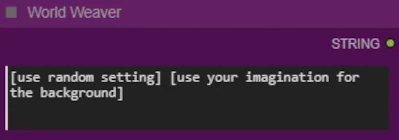
Like the action node, you can here decide if you want any specific scenery of settings in the image. If random is good enough, then leave it as it is.
Conditional Lora Applier
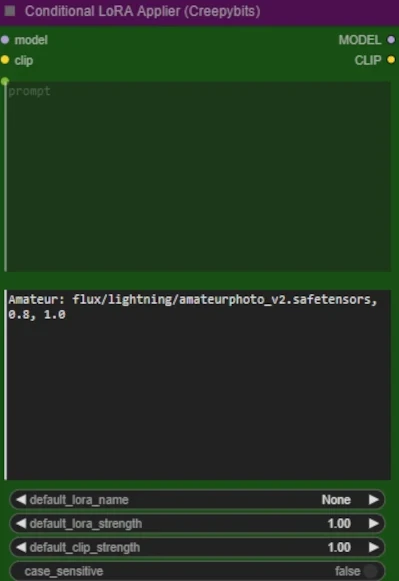
If you want to use Lora then this node is perfect. You can put as many loras as you want in the list, and specify different key word(s) to activate each of them independently, or several together. Specify the lora like this:
KeyWord: path/to/lora.safetensors, 0.8, 1.0
The first value is for the model and the second for the clip. Each new lora needs to be written on a new row.
The screenshot shows that if the word amateur is present anywhere in the prompt, the lora amateurphoto_v2.safetensors will load and use 0.8 model strength and 1.0 clip strength.
All the AI related work I do, I do on my spare time and most of it I share with the world completely free of charge. It does take up a lot of my time, as well as the cost for running this website. So if you do enjoy my work, please consider visiting my Patreon. I offer a few highly customized nodes and guides there, and I’m greatful for every bit of support I can get from users like you. All the nodes in this post are available for free in my Github: ComfyUI Creepy Nodes
To get news, tips and other useful information, please sign up on our newsletter,