Have you ever wished you could control specific parts of an AI-generated image, dictating exactly what appears where? That’s where regional prompting comes in! This powerful technique allows you to divide an image into zones and apply different prompts to each, giving you unparalleled creative controol
STOP! READ BELOW!
Since you found this page you most likely are looking for a good guide on how the use regional prompting the easiest and most effective way. While this guide is good, I have simplified the workflow by a lot, and implemented tools so that you can simply mask areas you want to use regional prompting at. Just follow the link below to the updated guide and workflow.
UPDATE: The new, easier, and more powerful way to do this! For the latest and greatest regional prompting workflow:
Check out the new and improved guide here!
In this guide, we’ll dive into regional prompting using ComfyUI, a node-based interface that offers incredible flexibility for AI image generation. We’ll walk you through the setup, workflow, and settings you need to master this technique and bring your creative visions to life.
What is Regional Prompting?
Regional prompting is a technique in AI image generation that allows you to control specific areas of an image by applying different prompts to different zones. It’s like having multiple mini-generators working together on a single canvas!
Benefits of Regional Prompting:
Example Use Cases:
- Create a landscape with a specific type of tree in the foreground, a distinct mountain range in the background, and a unique sky in the upper region.
- Generate a character with detailed clothing in one area and intricate tattoos in another.
- Add specific objects to an existing image while preserving the rest of the scene.
Regional Prompting with ComfyUI: A Step-by-Step Guide
This section will guide you through the process of setting up a ComfyUI workflow for regional prompting. We’ll assume you have a basic understanding of ComfyUI.
Prerequisites:
- ComfyUI installed and running (link to ComfyUI installation guide).
- Basic familiarity with the ComfyUI interface.
The Workflow:
Here’s an overview of the workflow we’ll be using:

The workflow can be downloaded here: Regional Prompt
SETUP

- Load Checkpoint (Load Diffusion Model): Loads the base Stable Diffusion model.
- Load CLIPs (DualCLIPLoader): Loads the CLIP models to encode prompts into a format the AI understands.
- Load VAE: Loads the VAE (Variational Autoencoder) for decoding the latent image into a final image.
- Set Image Size (Empty Latent Image): Defines the dimensions of the image.
- Set Image Size (Empty Latent Image): Defines the dimensions of the image.
SAMPLING

6. Enter General Prompt: A broad, encompassing prompt for the whole image
7. Save Image (Save Image): Saves the final image.
REGIONAL PROMPTING

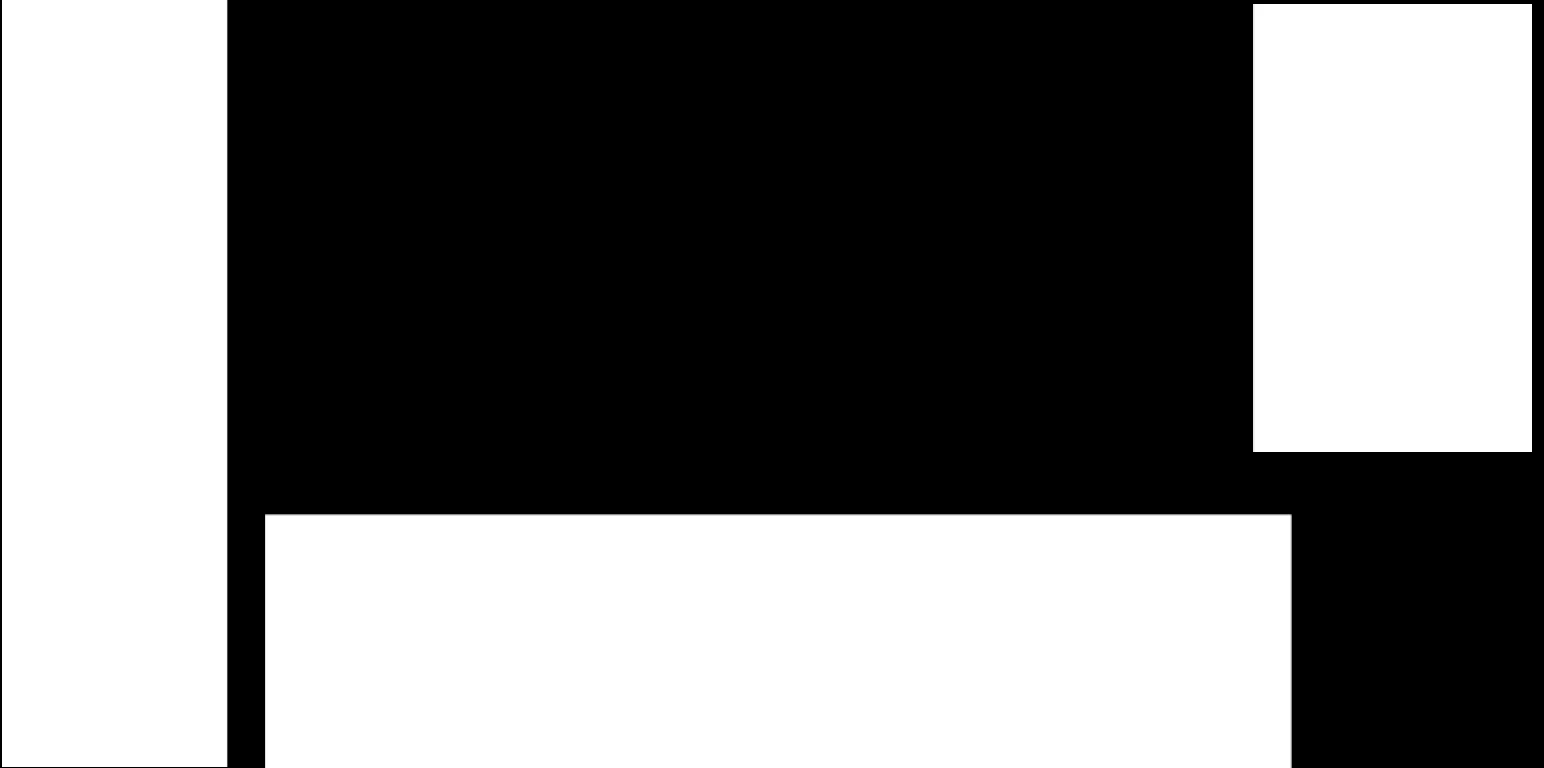
8. Regional Prompts for the blue, yellow and green zones
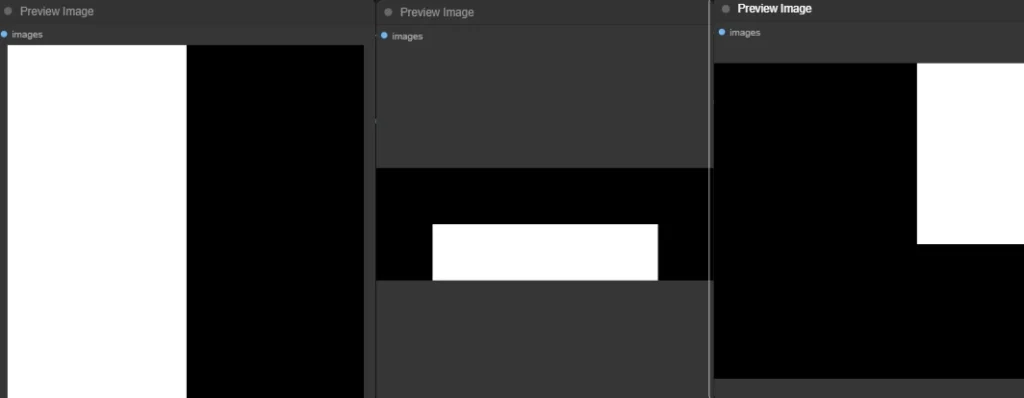
9. Preview of where the zones are located
10. Sampling (KSampler): The core image generation process.
REGIONAL PROMTING – SETTINGS
Setting up the Workflow:
- Load the Workflow: Drag and drop the Regional Prompt.json file into your ComfyUI interface.
- Install Missing Nodes: If you get a message about missing nodes, use the ComfyUI Manager to install them.
- Load Your Models: Make sure all the models are in place. The checkpoints, the VAEs and the Clips, the workflow should not take long.
Understanding the ComfyUI Workflow
Let’s break down the key components of this workflow and understand how they work together to achieve regional prompting.

1. Load Checkpoint (Load Diffusion Model):
- Purpose: Loads the base Stable Diffusion model, which provides the foundation for image generation.
- Settings:
- ckpt_name: Select the desired model (e.g., “Flux.1-dev.safetensors”).

2. Load CLIPs (DualCLIPLoader):
- Purpose: Loads the CLIP models to encode prompts into a format the AI understands. This node allows the model to load both the text encoder and the text encoder 2 at the same time.
- Settings:
- clip_name: Select the name to the text encoder model.
- clip_name2: Select the name to the text encoder 2 model.
3. Create Shape Mask:
- Purpose: This is the heart of regional prompting! This node defines the regions to apply prompts to.
- Settings:

- shape: Select the shape of the zone (square, circle, triangle, etc.).
- frames: I am honestly unsure what this setting does, but I think it defines the number of frames for the image.
- location_x: The X coordinate of the top-left corner of the shape.
- location_y: The Y coordinate of the top-left corner of the shape.
- grow: Controls how much the mask will expand or contract. This creates smoother transitions between zones. Use this to avoid harsh lines in the generated picture.
- frame_width:The width of the canvas.
- frame_height: The height of the canvas.
- shape_width: Defines the width of each zone inside the separate canvas.
- shape_height: Defines the height of each zone inside the separate canvas.

4. Sampling (KSampler):
- Purpose: The core image generation process where latent noise is transformed into an image according to the prompts and settings.
- Settings: (Basic ones)
- sampler_name: Select the sampling method to use (Euler, LMS, DPM++ 2M etc.).
- scheduler: Select a noise schedule.

5. Save Image (Save Image):
- Purpose: Saves the final generated image to your hard drive.
- Settings:
- filename_prefix: Give a name to the file to save it easily.
Regional Prompting Prompts and Settings
The key to successful regional prompting is crafting effective prompts for each zone. Here’s how to do it:
- General Prompt: Start with a general prompt that describes the overall scene. This will provide context for the individual zones.
- Example: “A vibrant landscape with a clear blue sky.”
- Regional Prompts: Now, create specific prompts for each zone. Be as detailed as possible.
- Zone 1 (Sky): “A clear blue sky with fluffy white clouds and a bright sun.”
- Zone 2 (Foreground): “A field of wildflowers with a gentle breeze and a winding path.”
- Zone 3 (Background): “Distant snow-capped mountains with a hint of fog.”

With our regional prompting mask, you will divide the image in zones, and create the exact image that you like. In this example, the image is separated into three zones, to be able to add the prompts of “sky”, “foreground”, and “background”.
The result from using the provided workflow together with the following prompts:
Examples and Results


You also might want to read about perspectives, prompting, outpainting, inpainting and camera control when working with generative AI. Or see if you can get some inspiration from my Gallery.
Sign up for my newsletter to get more news, tips and tricks for generative AI.
