A while ago I made a LoRa (Low Rank Adaptation) of a made-up woman. The idea was to figure out what you can, or more what I can do with AI. I have touched the subject in an earlier post, and this time I plan to show you how it’s done and the result.
The very first step for making a LoRa of a non-existent person is to create a base image. I eventually decided that this woman is going to be my LoRa.

Preparing your LoRa
Preparing your LoRa correctly is very important, as it will affect the quality of the outcome more than anything. You will have to start with generating 20-30 images with the person you are making the LoRa of. This can normally be done by generating a lot of images with the same seed. However, I suggest that you use different checkpoints and different prompts, otherwise you’ll end up with 20-30 almost identical images.
Note, this guide is for creating a LoRa for Stable Diffusion XL.
Here’s a few of the images I used for my Lora.


Next you will have to create a text file for each image you are using for your LoRa, and every text file should be named the same as one of the images (only with .txt instead of .png or .jpg).
Before you proceed to naming the images and writing a description, go through all the images and make sure they all hold a high quality. it’s enough if just 1 image is low quality for the LoRa to basically become useless.
Inside every text file you need to make an accurate description of the image with the same name. For example.

The image to the left is named 1.png. I like to rename images like that for sinplictity and in order to easier keep track of the images and their text counterpart.
The way I have decribed this image in the text file named 1.txt:
Close-up photo of the woman namned Zilaria. Part of a black strap from her top can be seen over one of her shoulders. Her face shows that she is in a bad mood. Behind her is a simple gray-green background.
Another example of an image and it’s description that I used it the following:
This image I named 2.png and the description file 2.txt.
Description in the text file:
A woman namned Zilaria is looking to her right, at the camera. She is wearing a winter coat and gloves, and has an annoyed expression on her face. In the background and surroundings a snowstorm can be seen.

You need to keep doing this for every image-text pair, and the better and more accurate you describe the image the better LoRa you will get in the end. It’s a bit of work for sure. The reason I keep writing that the womans name is Zilaria is so that word will carry more weight when it’s used in a prompt later.
Instead of a prompt that says:
A woman is eating ice cream at the beach
My prompt will be:
Zilaria is eating ice cream at the beach
It’s not needed to do it this way, but I find it helpful.
Creating your LoRa
Since this LoRa is for Stable Diffusion XL, there’s no need to crop the images before creation. If this had been for Stable Diffusion 1.5 the images also need to be cropped to the size 512×512 pixels.
Once you have named all images, text files and have written a good description for each image it’s time to start creaing the actual LoRa. For this purpose it’s a good idea to create an account at CivitAI, since they let you create LoRa’s for free (basically).
On CivitAI website click on the dropdown menu named Create and choose Train a LoRa.

At the next screen you will need to select the type of LoRa you are creating. For this purpose I will choose the character LoRa.

For this next step you should create a .zip file that contains all your images and text files. The files should be directly in the .zip file and not in a folder inside the .zip file. To do this it’s easiest to click your way in to the folder where the images and text files are located, use ctrl+a to select everything. Right click on one of the selected files and choose create a zip file and name the .zip file the same as you named your LoRa.
Upload it all to CivitAI.

Once you have uploaded it all, it should look like this.

And for the last step you can choose which checkpoint you want to use when creating your LoRa. I have chosen Realism Engine SDXL.

Once you have submitted your images and everything is correct, it will take roughly 1 hour until your LoRa is ready and you can try it out.
Note: You will get your LoRa in 10 different files named something like Zilaria1_epoch_1.safetenor, Zilaria1_epoch_2.sefetenor etc. Start trying out the one with the highest number.
Results
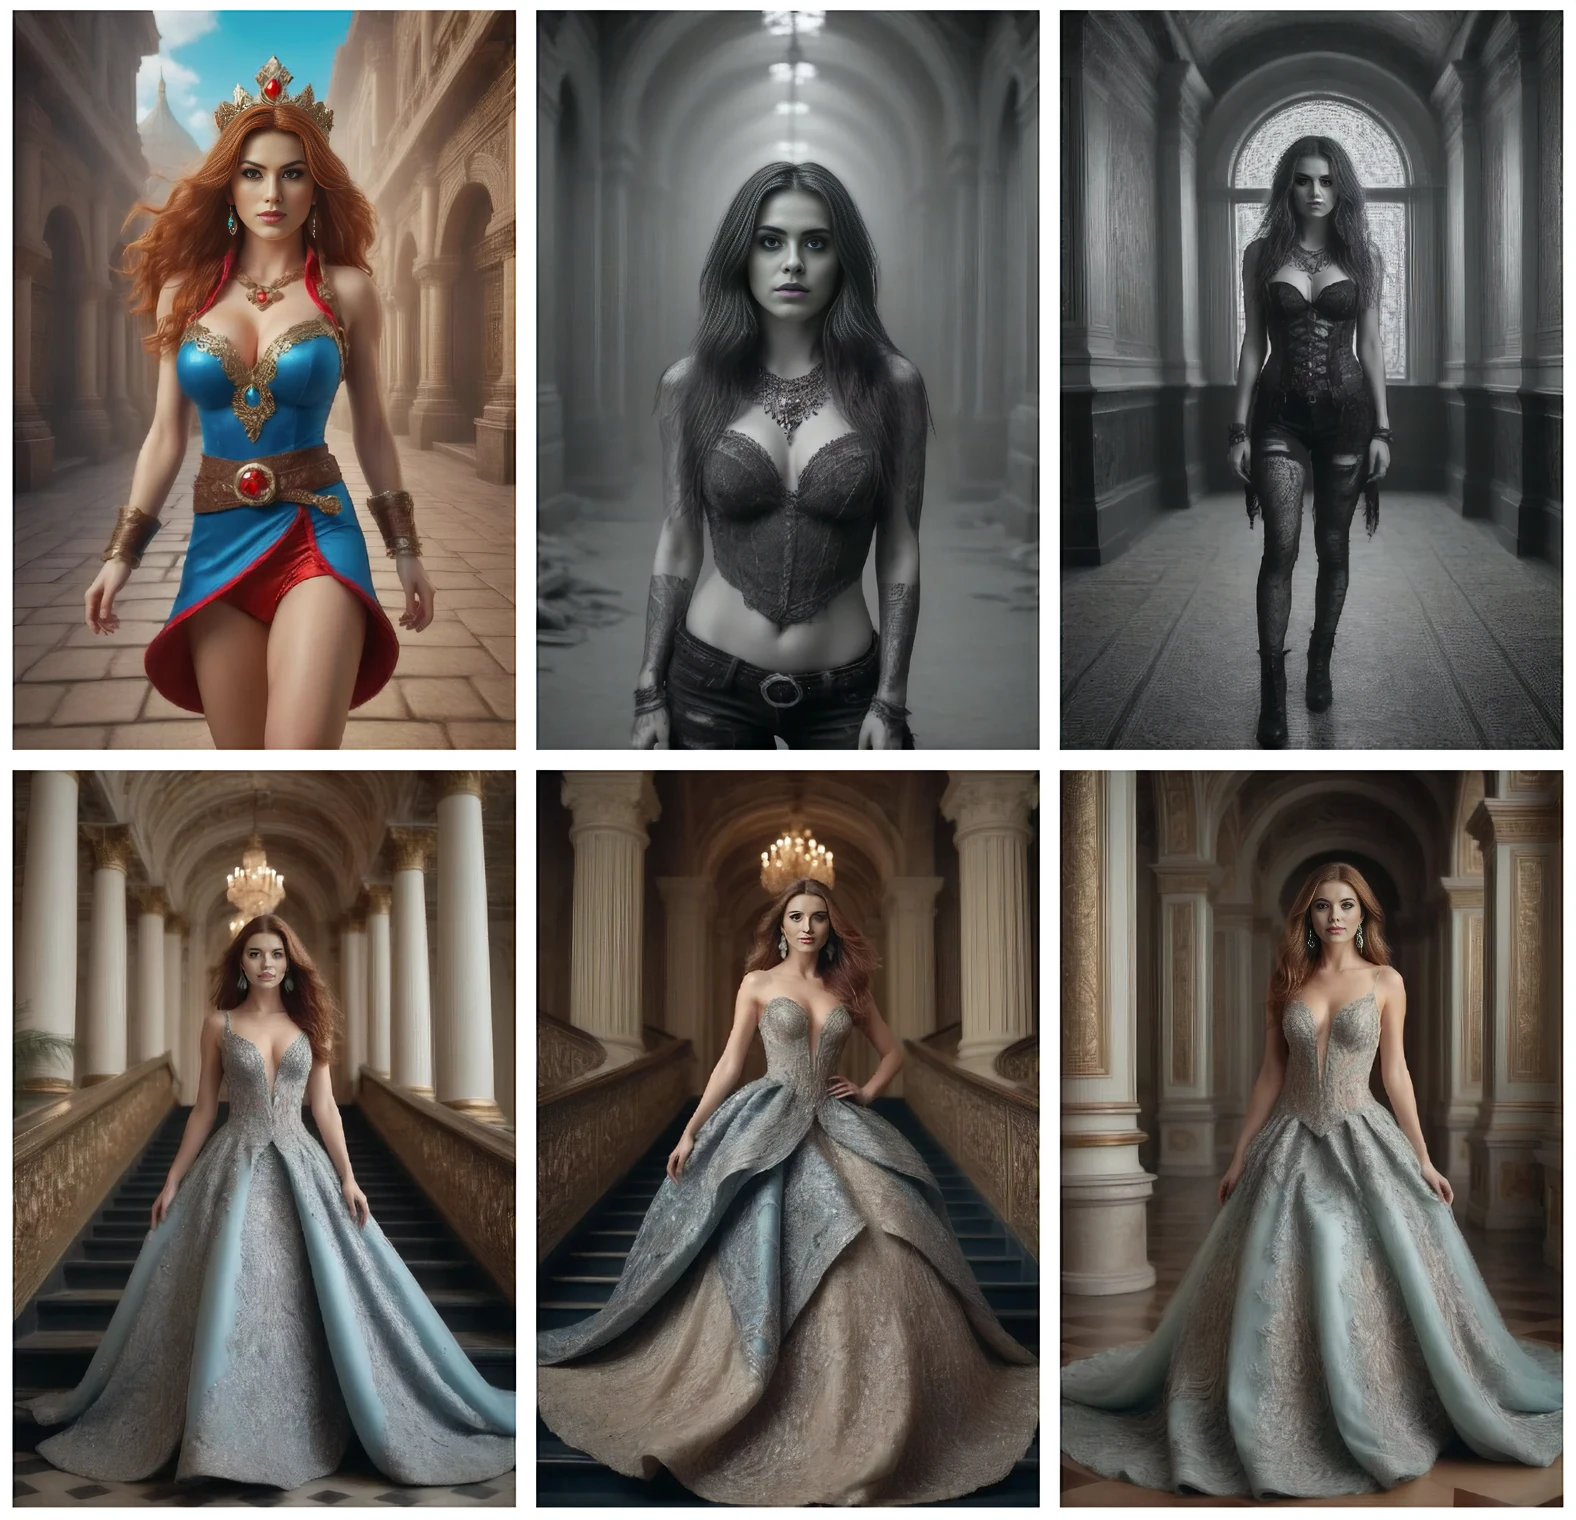
Here are some of my results.


As you can see, only your imagination set the limits for what’s possible when using a well crafted LoRa!
